
Summary
Echo360 Universal Capture Personal (UCP) can help you create teaching resources from your computer that can be disseminated via Echo360 to your students/audience.
UCP allows you to combine audio and up to two other displays including camera and computer screen (i.e PowerPoint Presentation or other application) – the minimum requirement is audio.
Things to think about:
- Keep recordings short – ideally under 10 minutes to keep the size down for audience members on poorer internet connections
- Plan your recording before you start – have you got all the resources together? Do you know what you want to say and how to say it?
Resources
- Echo360 Dashboard (help.otago.ac.nz/capture)
- Echo360 Library (help.otago.ac.nz/capture)
- Echo360 Sharing and Publishing recordings (help.otago.ac.nz)
How to install UCP
- Go to echo360.net.au and log in with your University of Otago email address – if this step fails please contact med.moodle@otago.ac.nz to discuss sorting your access out.
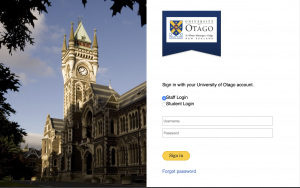
- Select Staff Login and sign in with your University of Otago username and password.
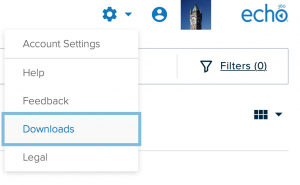
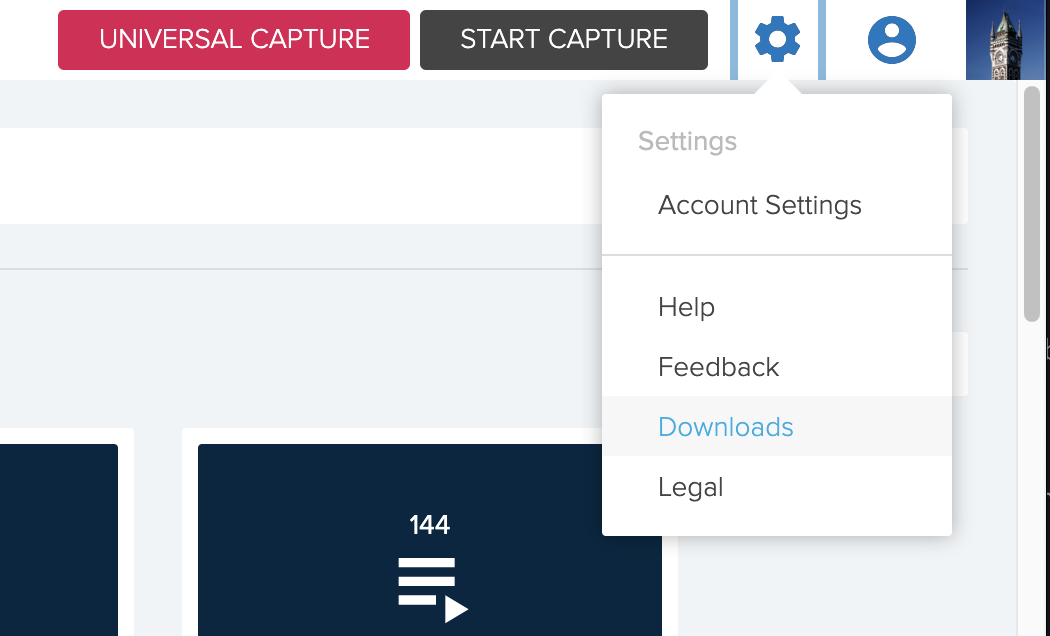
- Click the cog in the top right hand corner and select Downloads from the menu.
- Select the Mac or Windows version of Universal Capture: Personal to download.
- Install Universal Capture: Personal on your computer (if the install doesn’t start immediately the file is probably in your Downloads folder – just click it to open).
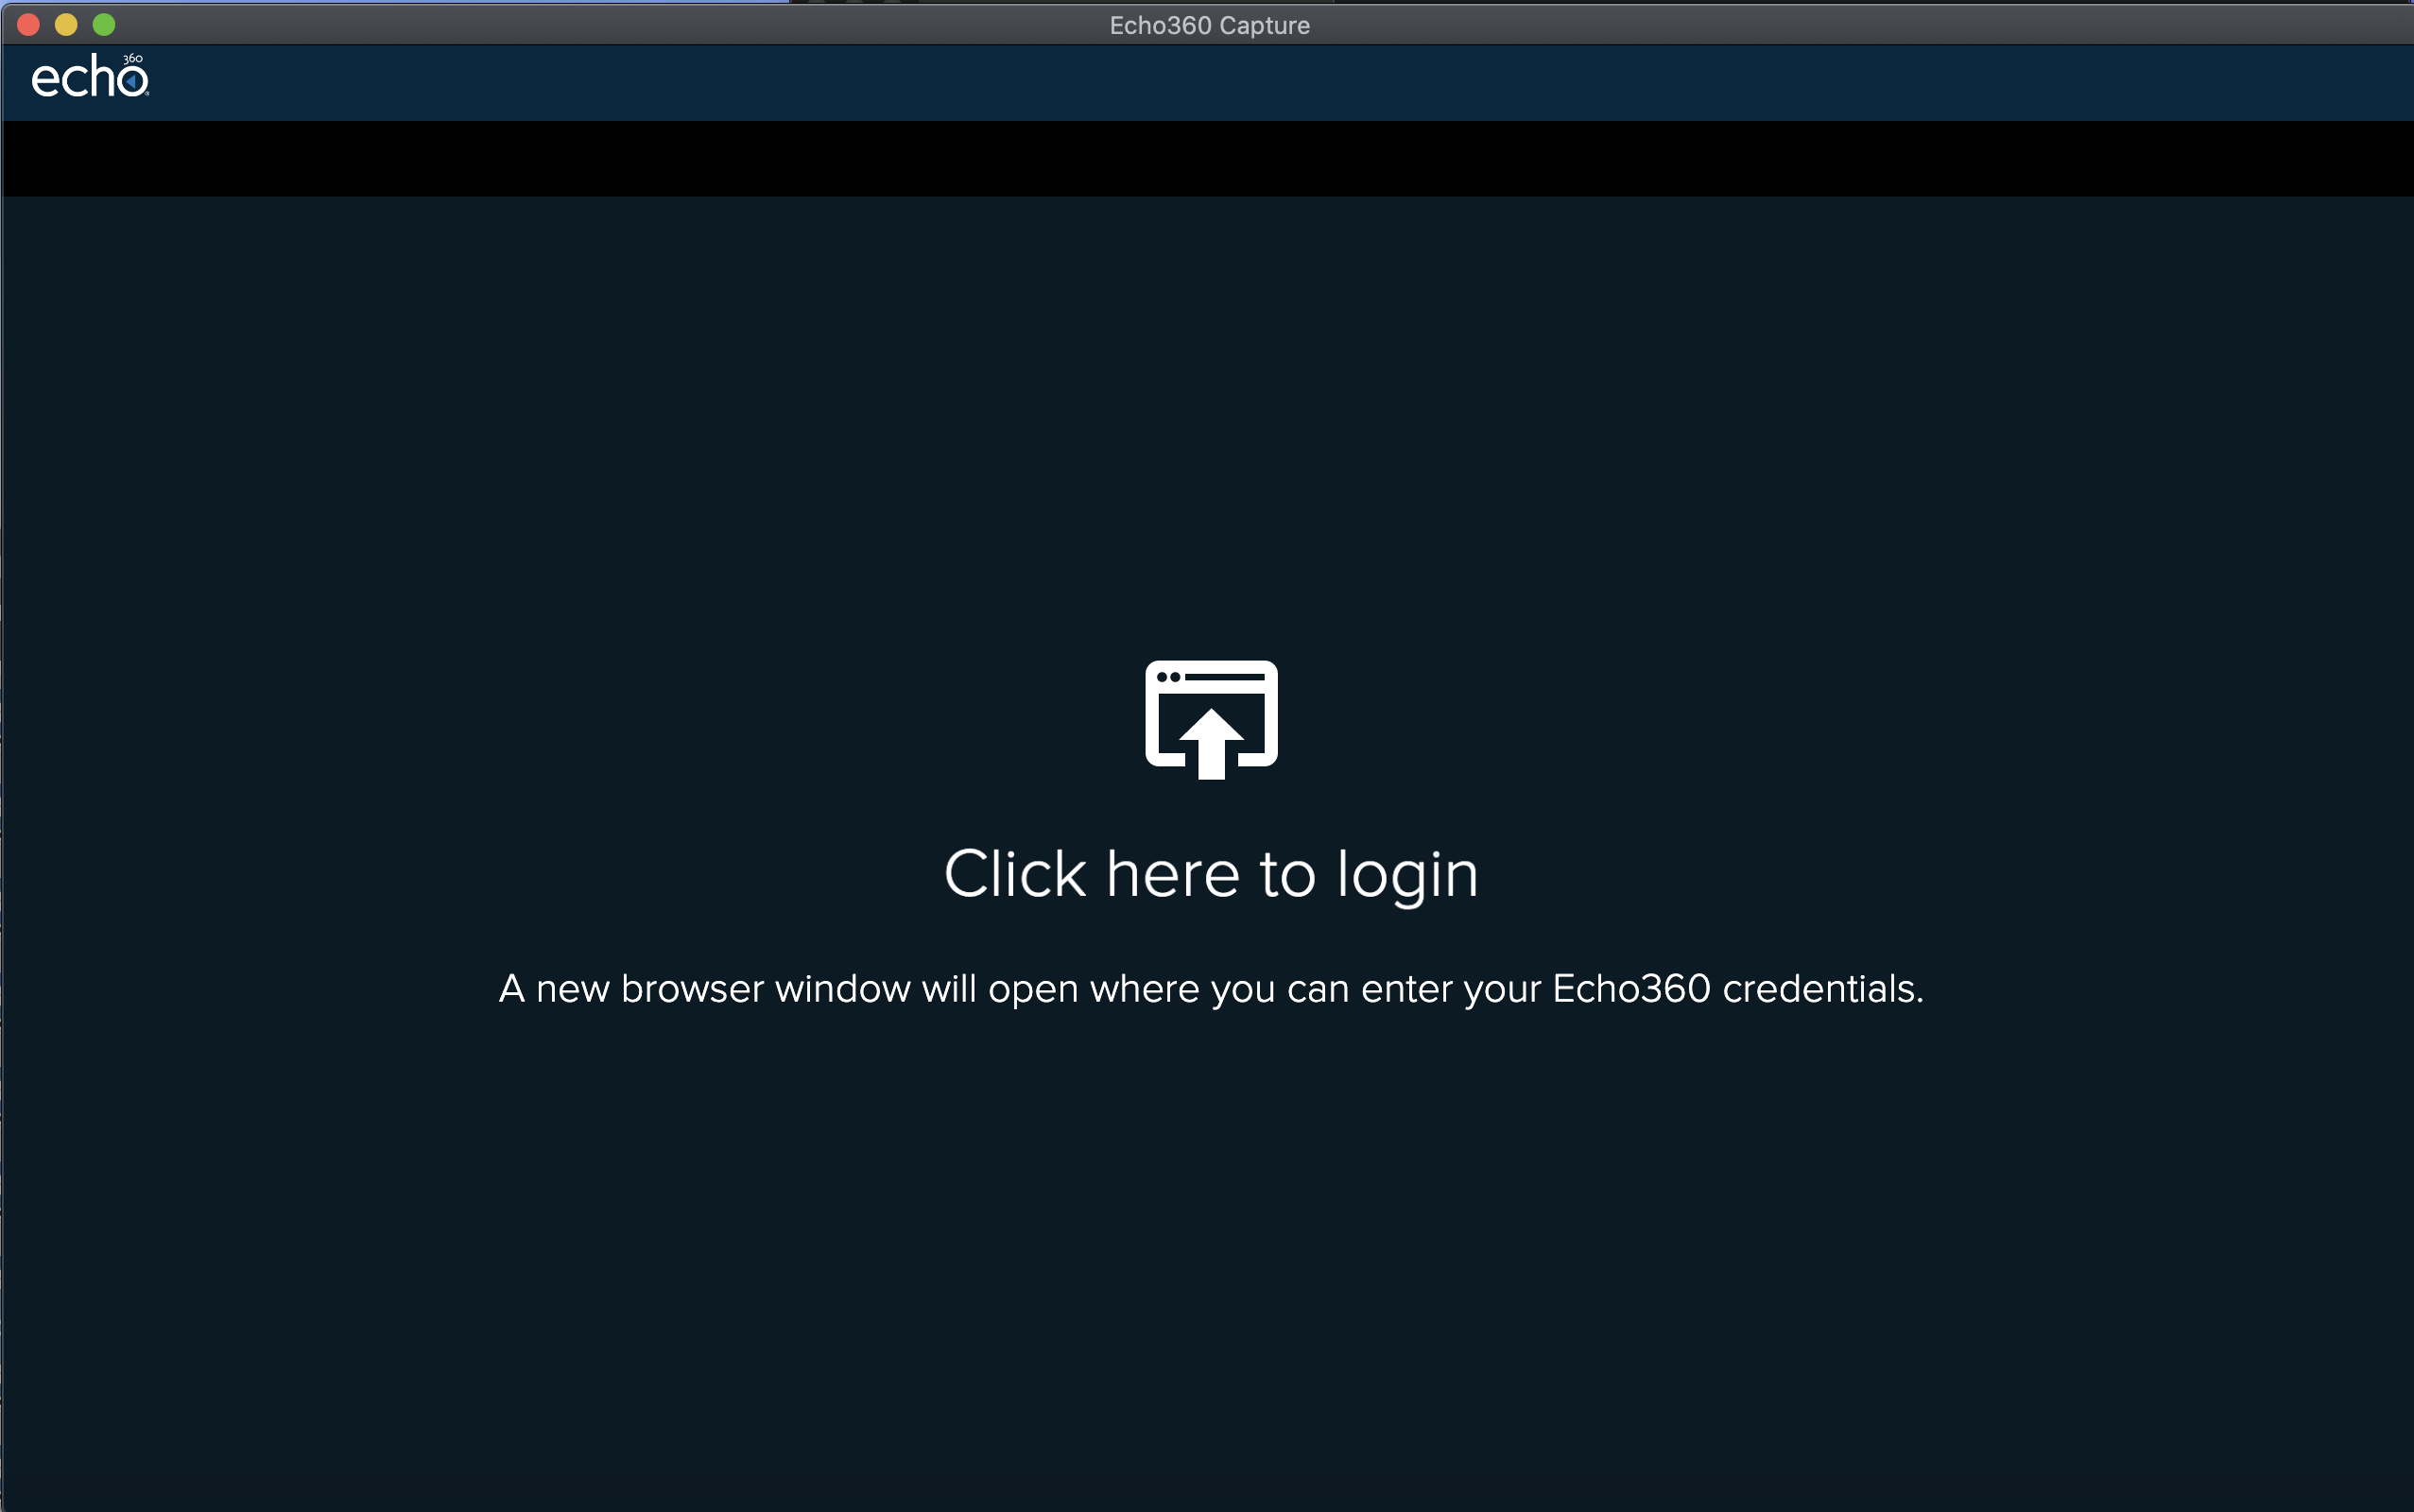
- Once installed open Echo360 Capture.
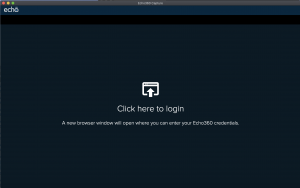
- You’ll be shown a screen asking you to log in – click the icon to log in (this will open your browser).
- If prompted, log in with your University of Otago username and password (you’ll see a photo of the University clocktower on the screen).
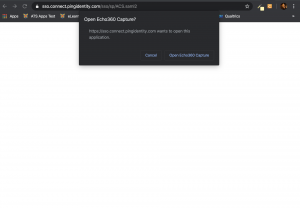
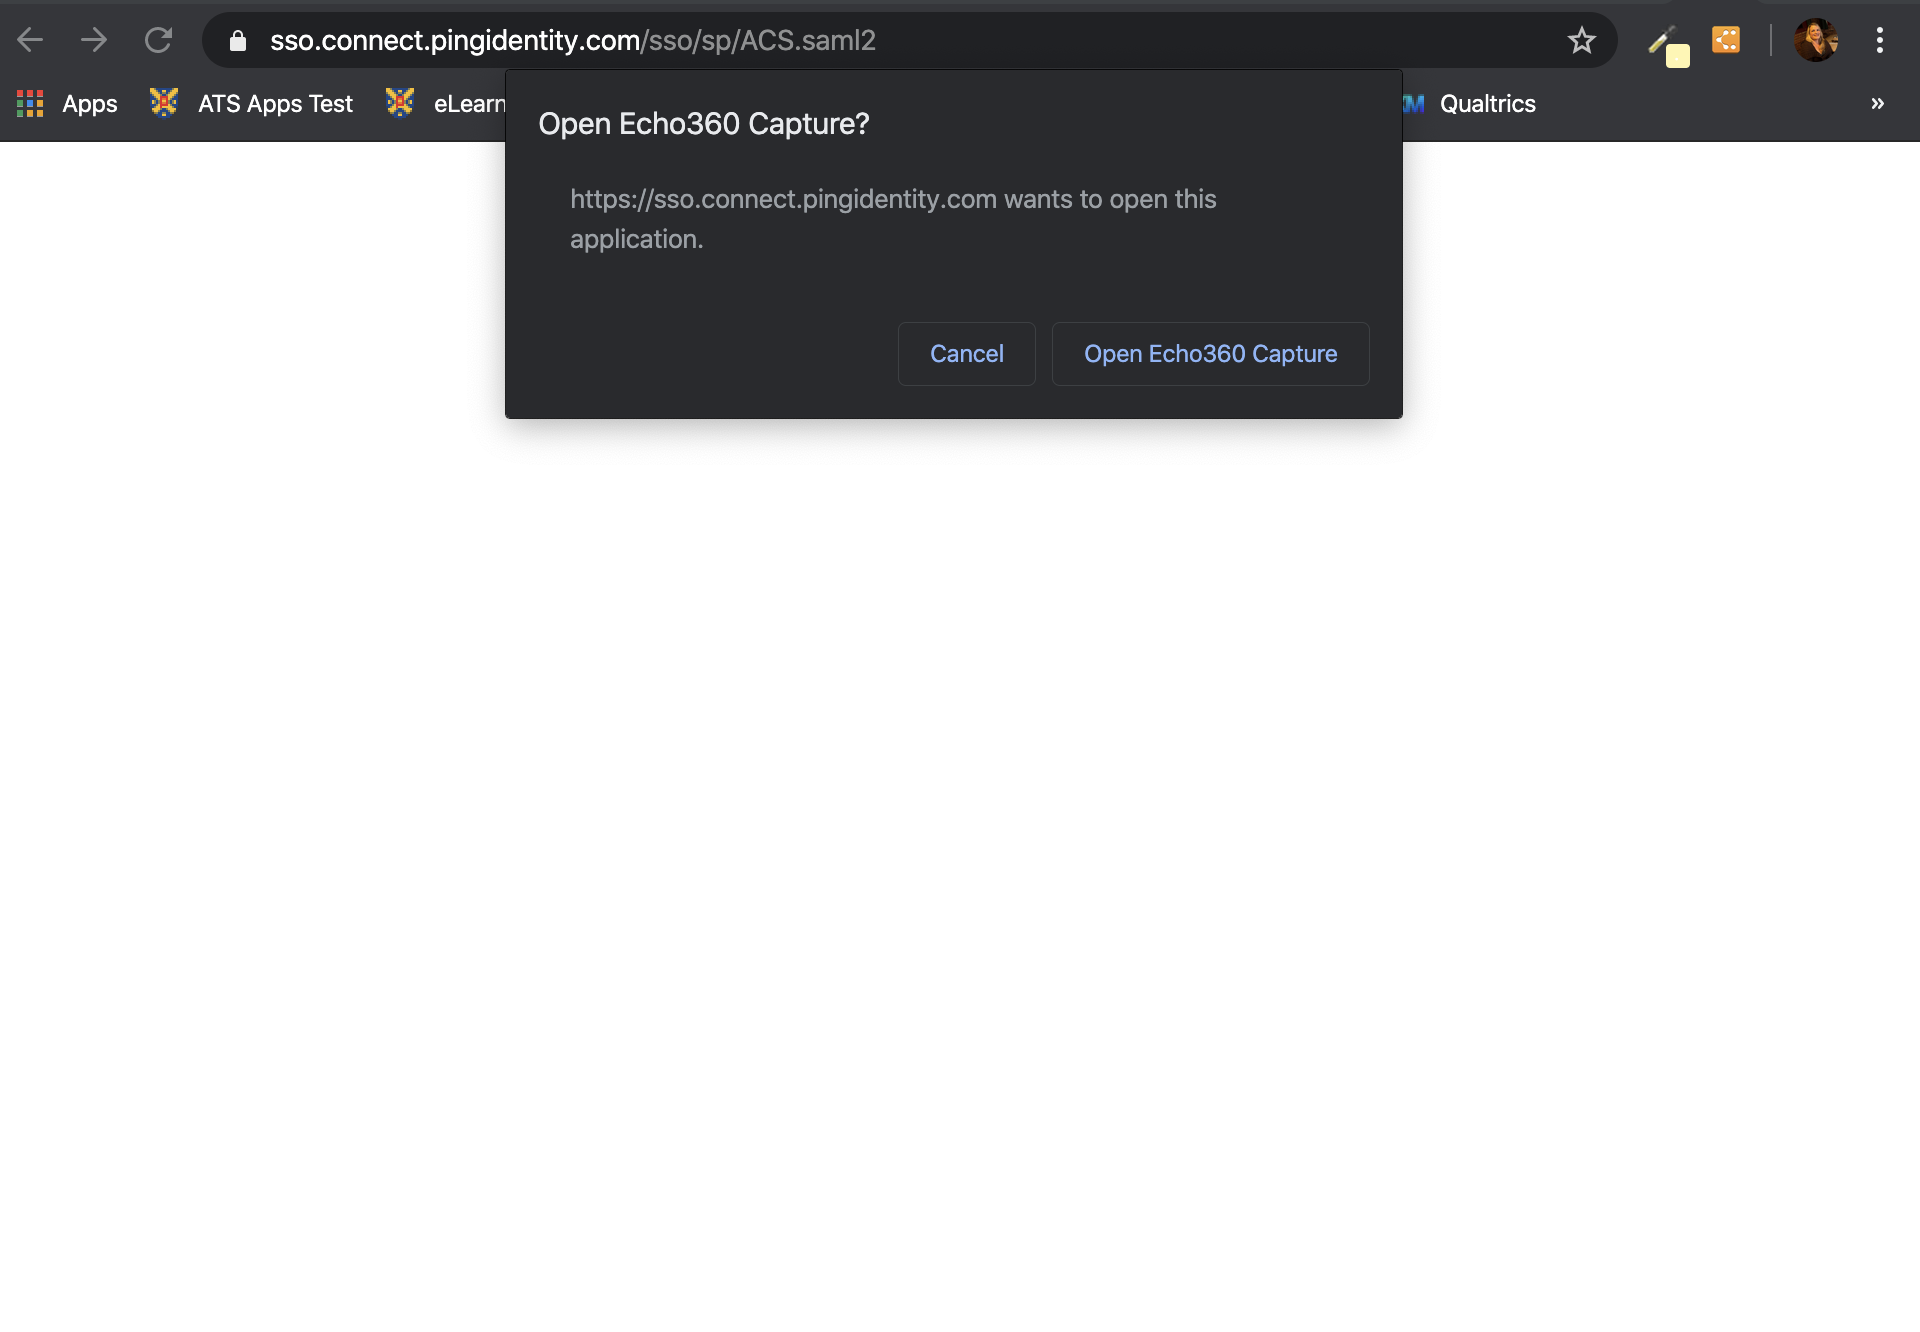
- Next you may see a message asking to open Echo360 Capture – approve this.
- You’ll now see Echo360 opened – and some choices available for what to record. The middle is your microphone, to either side you can select your input from the drop down – usually webcam and your screen. You may need to update your system permissions to allow your microphone, webcam and/or screen to be recorded.
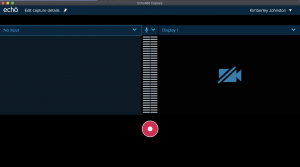
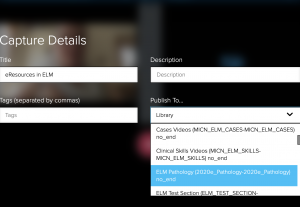
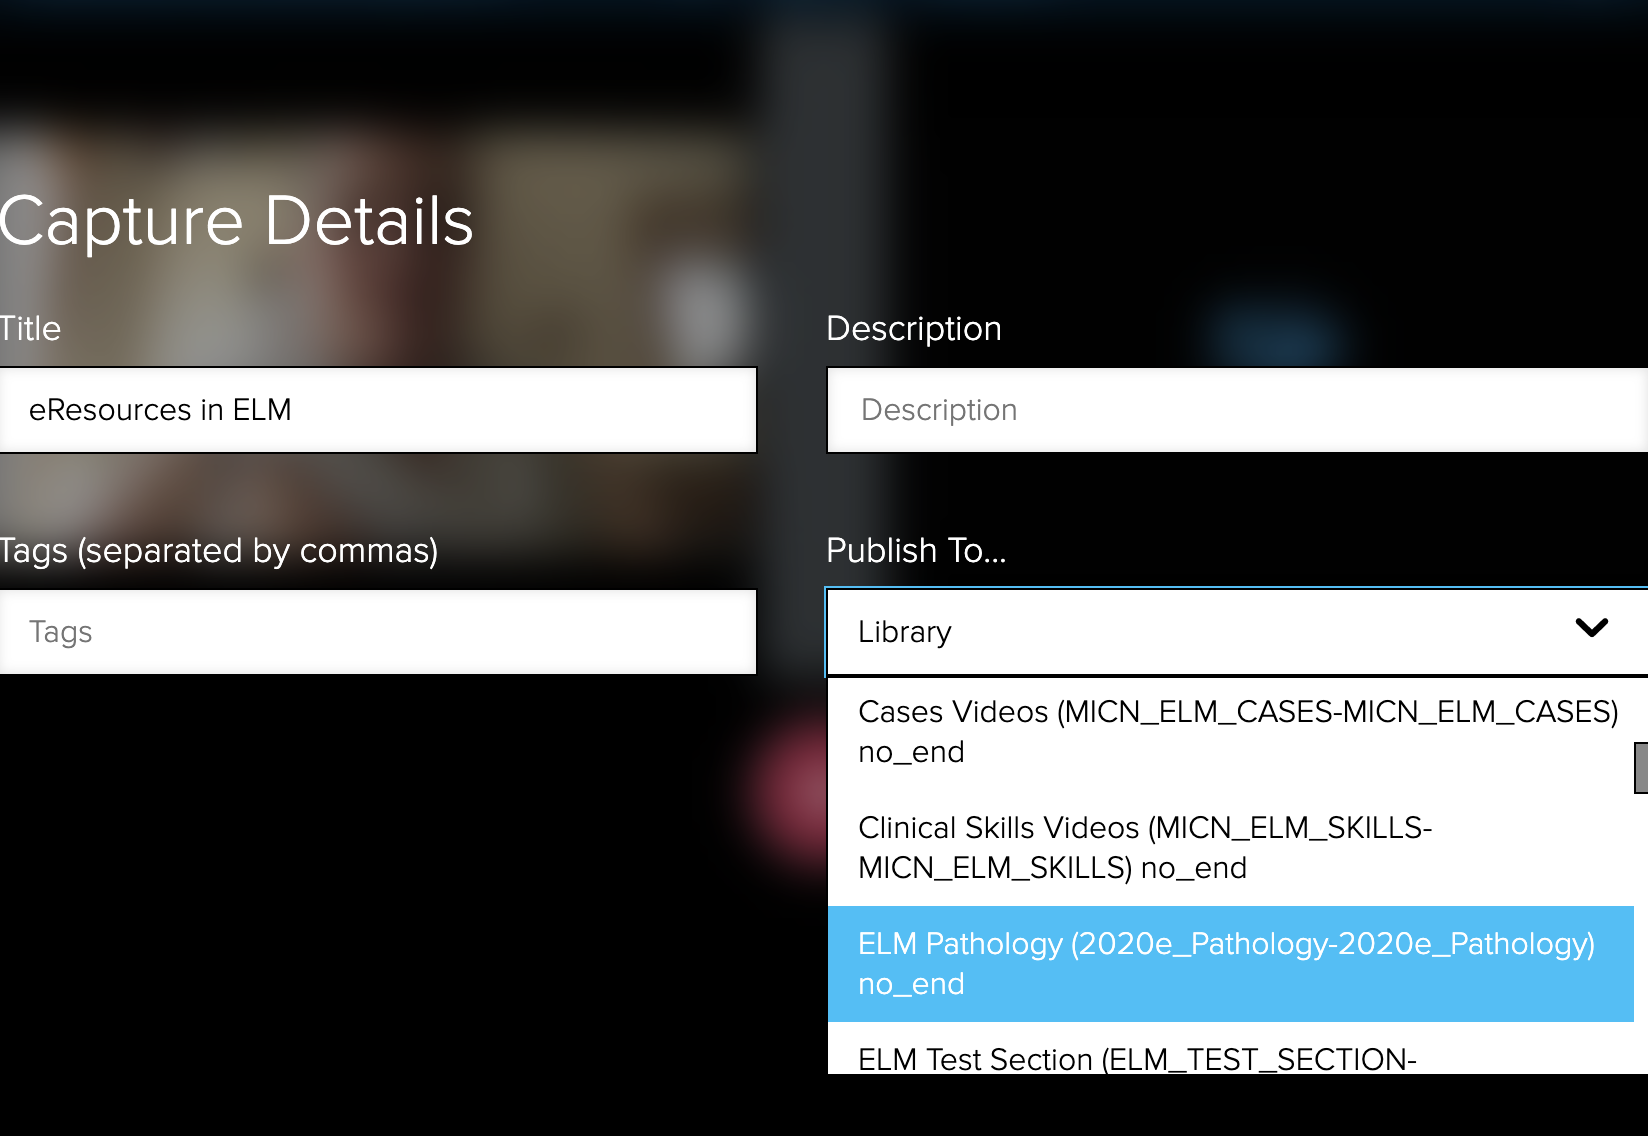
- To the top left of the window click Edit capture details – use this area to give your recording a title, description, any tags you may want and select where the recording is published to (use your Library – if you want to review and edit your recording before anyone sees it).
- Once you are all set up click the large red Record button in the centre of the screen – you will get a 5 second count down before the recording starts (Echo360 Capture will minimise while the recording is happening).
- Stop or Pause the recording as required – once you stop the recording Echo360 will publish it to wherever you set in step 12.
- Echo360 Capture will show you a success message when your recording is uploaded – this includes a Click to view. Use this link to view your recording – this will open in your web browser (https://echo360.net.au).
- From this page you can edit the recording and choose which section (module/course) to publish the recording to (see instructions about publishing in the Resources section at the top of this page).


Naming Conventions
To make life easier for everyone having a sensible naming technique for your recordings is critical. The naming convention used within ELM (Early Learning in Medicine) is: YYYYMMDD_Module_Surname_Topic i.e 20200221_ClinPharm_Smith_Neurotransmitters
Related Pages
- Lecture Recording (creating the link between Moodle and Echo360)
