 ,
,
You can edit your Media Content (Videos, Audio, and Slideshows) in two ways:
- Edit the Media Description – This includes changing the Title, Description, and adding Tags.
- Edit the Media – Otago Capture has basic editing functionality for recorded or uploaded media (video and audio). This includes trimming the beginning and ending of media or removing sections.
Edit the Media Description
Content owners are able to edit media details including Title, Description, and Tags. This function can be used to edit details of all content items: video, audio, or slideshows.
There are two methods to get to the edit details function within Otago Capture.
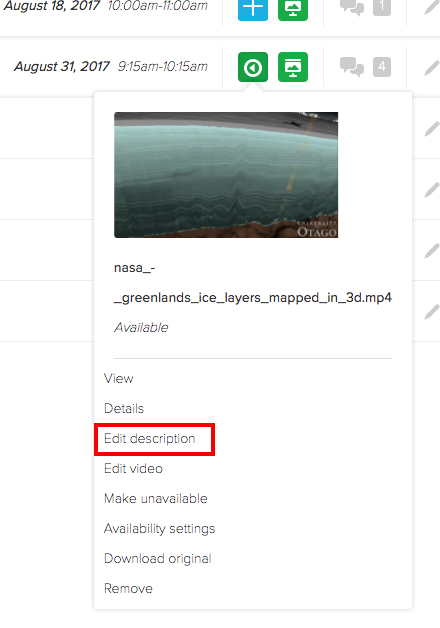
1a. From the Classroom list of a course, click the content item icon from the class that contains the content you want to edit, and then choose Edit description.
1b. Or from your Library, find the content item you want to edit, click the the down chevron (arrow) in the top-right corner of the item, and choose Edit details.

2. A window may pop-up warning that any changes to the media's details will be published to all versions of the content. Choose OK.

3. Another window will pop-up allowing you to edit the Title, Description, and Tags. When you are are finished editing the details, click Done.

Editing the Media
- All changes to a piece of media will apply to all published and shared versions of that media.
- You will not be able to edit out the University logo or intro to a video.
- In addition to video content, you will be able to edit audio only media.
There are two ways to get to the edit video function within Otago Capture.
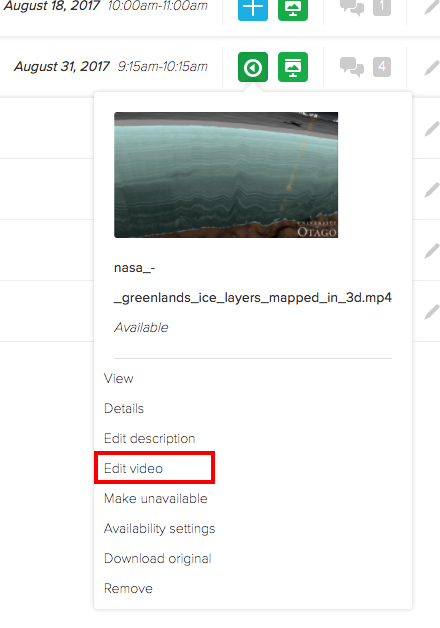
1a. From the Classroom list of a course, click the content item icon from the class that contains the content you want to edit, and then choose Edit video.
1b. Or from your Library, find the content item you want to edit, click the the down chevron (arrow) in the top-right corner of the item, and choose Edit video.

2. A window may pop-up warning that any changes to the media's details will be published to all versions of the content. Choose OK. You will then be taken to the Otago Capture video editor page.
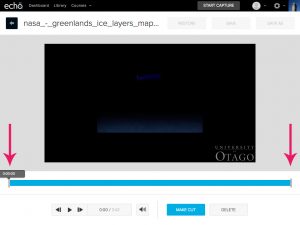
- To trim the beginning or end of your video, hover over the timeline (bright blue bar across the screen). Two grey bars will appear at the beginning and end of the timeline.
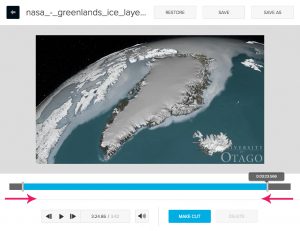
- Click and drag the left bar to where you would like the media to begin and the left bar to where you would like the media to end. When you save, these trims point will remove the media before and after accordingly.

**Please note - You cannot cut out the University of Otago intro. It may look like you've trimmed it out, but the intro will still be added to your video once you have finished editing and saved your work.
**Please note - You can also edit Audio Only recordings.
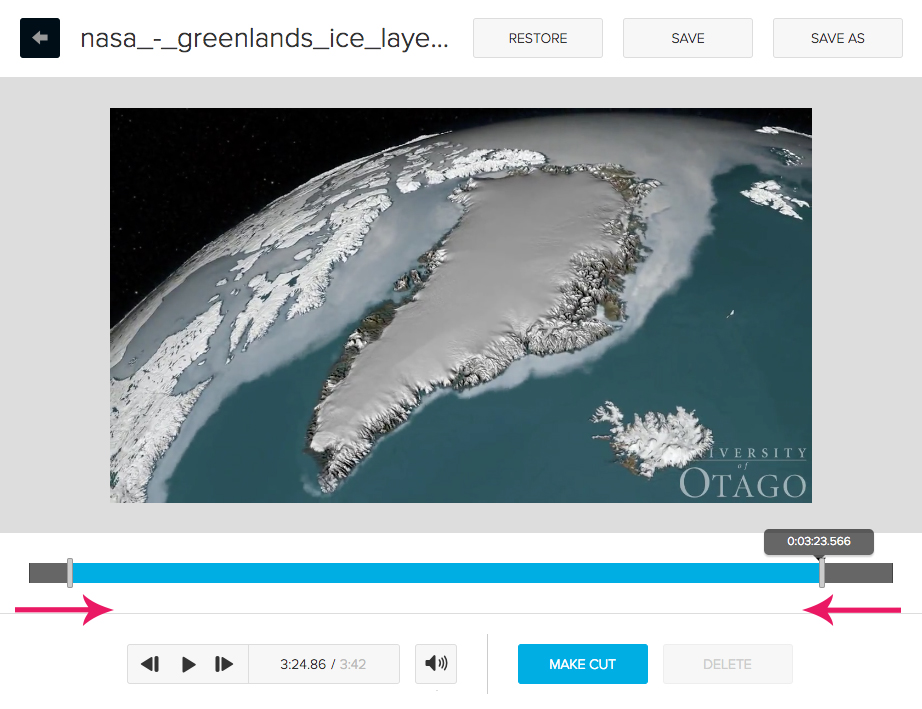
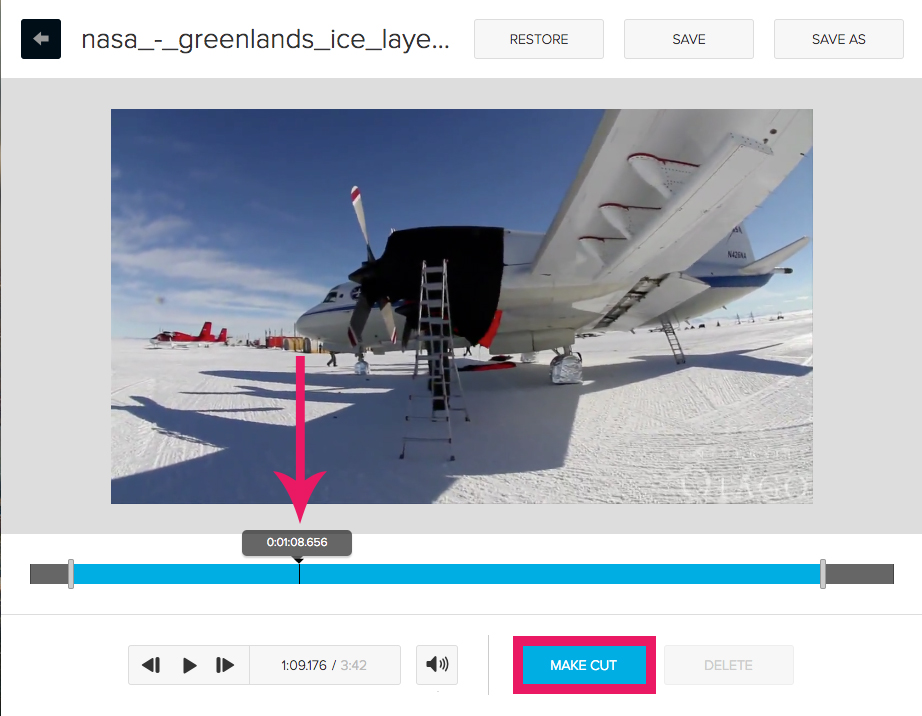
- To make a cut in the middle of your video, first find the beginning of the segment of video you would like to remove. Either click where you would like to make the beginning of the cut or drag and drop the playhead to that location on the timeline. Choose Make Cut from below the timeline.

- Next, find the end of the segment of video you would like to be removed. Again, click or drag and drop the playhead to this location on the timeline. Choose Make Cut from below the timeline.
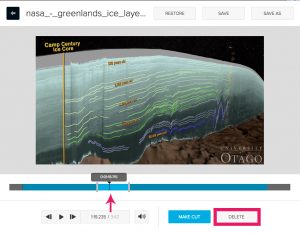
- Click on the segment you have created by making cuts. Two handles will appear at the beginning and end of these cuts. If you need to adjust the beginning or end points of this video segment, you can drag these handles to another time location.
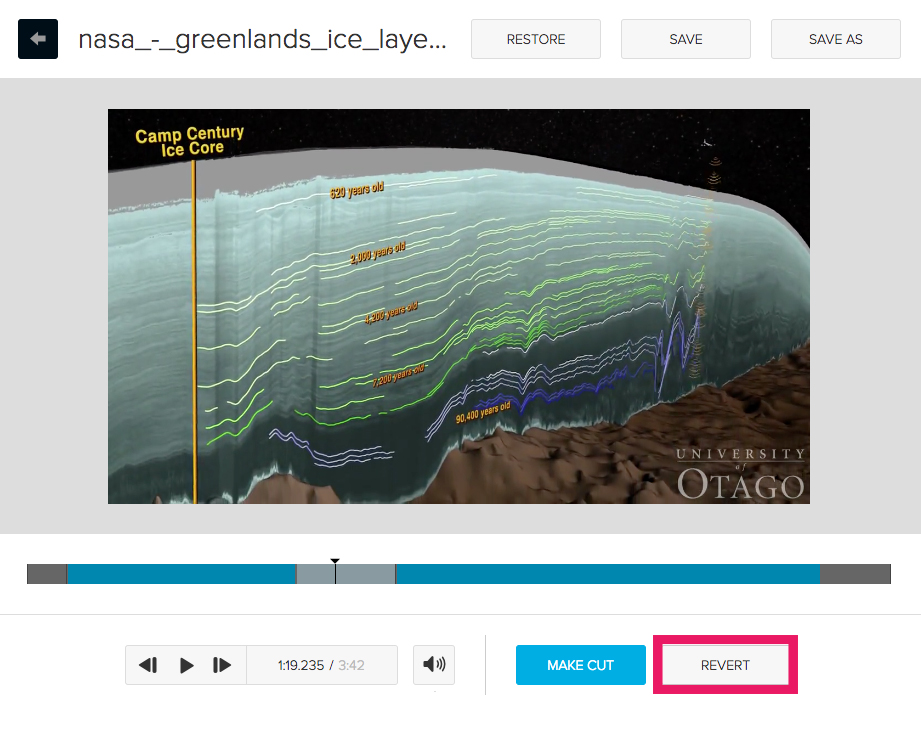
- To remove the video segment, be sure it selected (it will turn bright blue in comparison to non-selected video), and choose Delete from below the timeline. The segment will turn grey to indicate it has been deleted.

To undo a deleted segment of the video - put the playhead over the cut segment and the Delete button will change into a Revert button. Click this and the changes should be undone.
To change any trimming to the beginning or end of the video, hover over the end point you wish to edit, click, drag and drop to a new time location.
If you wish to undo all changes at once, choose the Restore button to the right above the media.
Save
To finish the editing process simply choose to Save to save changes or Save As to save an edited copy of the original media.
Save As
If you choose to Save As you will be asked to include a Name, Description, and Tags for the new video. Since this video is new, it will not be attached to a classroom and will appear in your Library. Once processing has completed, it will be available to publish to a classroom or share via a link.
Processing
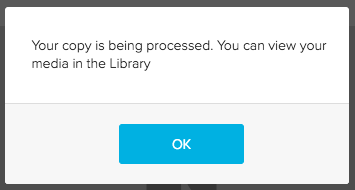
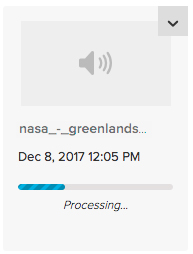
Once you have chosen to Save or Save As, your media will be processed. You will see a pop-up message, and can see how far processing has completed by going into your Library to see the progress bar under the item.
**If you Save or Save As, if you back into your media, all of the original cuts and trimming will still be visible and editable. You can at any time restore or further edit your media.
