
Summary
 Surveys are a quick way to find out what your students think about something, they can also be anonymous.
Resources
- Tests, Surveys and Pools Overview (help.blackboard.com)
- Blackboard Preparing Tests, Surveys, and Assignments Training course (view dates & times)
- Blackboard Tests, Assignments and Marking Training course (view dates & times)
- Building a Pool (video)
- Reading Survey Submissions (video)
- Exporting and Importing a Test or Survey (video)
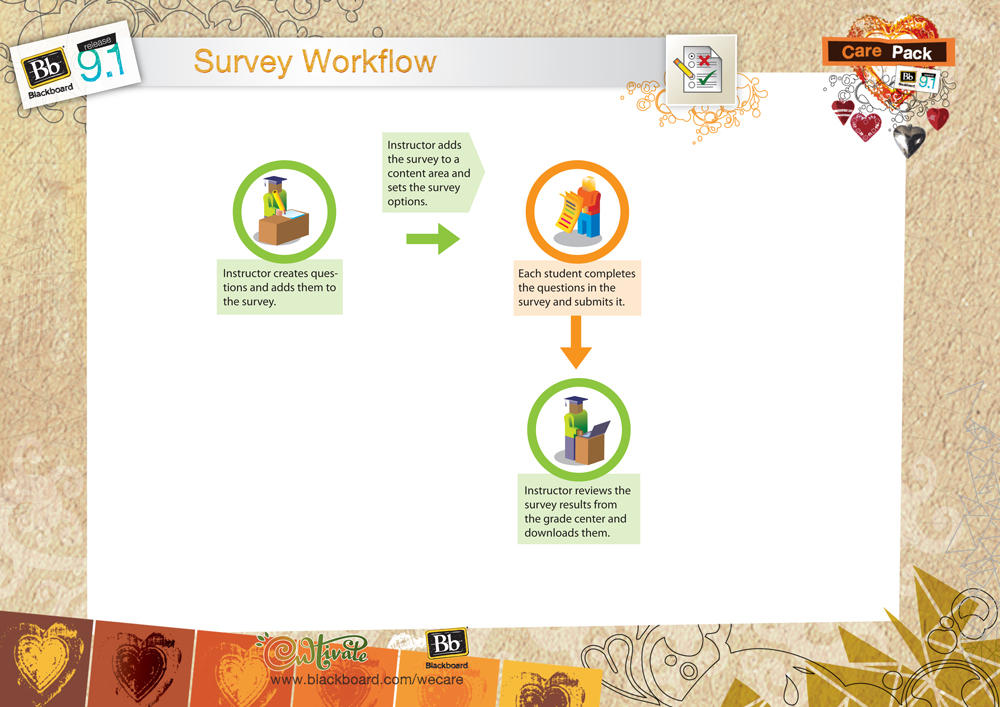
Introduction to Surveys
Creating a Survey
- Go to where you would like the survey to appear.
- Click “Assessment” > “Survey”
- Click “Create”
- Type the name of the Survey in the Name field, the description in the Description field, and the instructions in the Instructions field. Students will see this information when they take the Survey.
- Scroll down to the bottom of the page and click the Submit button.
- Click the “Creation Settings” button – the options you select will then be available for each question you create in the Test/Survey. If you enable an option by selecting it, you don’t have to use it in each question – so if you’re not sure if you need to use one of these options, enable it.
- Add images, files, and external links to questions
- Add images, files, and external links to answers
- Add categories, topics, levels of difficulty, and keywords to questions
- Specify random ordering of answers
- Specify the horizontal or vertical display of answers
- Specify numbering options for answers
select a setting by clicking the check-box beside it. Click Submit, and then OK.
- Choose a question type from the drop-down list, then click Go. The options you selected in #6 (above) will be available in each question you add.
- Fill out the fields in the page for each question you add, click Submit at the bottom of the page, choose a new question type from the drop-down list, click Go, and repeat until all your questions are added.
- Press OK at the bottom of the page when you’re finished adding questions.
- Your Survey is now complete and is ready to be deployed.
Deploying a Survey
To deploy a survey:
- Go to the area you wish to add the survey to
- Click ‘Build Assessment’ > ‘Survey’
- Select your survey from the ‘Add Survey’ list – only Surveys that haven’t already been deployed will appear in this list.
- Click Submit, and then Submit again.
Note that at this stage, your survey is not visible to students because you haven’t set the availability options.
To set the availability options for your Survey:
- Click the button next to the survey name (to get the drop-down menu)
- Select ‘Edit the Survey Options’
- In section 2 ‘Survey Availability’ – select ‘Yes’ for ‘Make the Link Available’
- Review the other options and press Submit at the bottom of the page
