
Summary
 By default, the Grade Center will include the name, username and student ID of your students, followed by any grades for Blackboard Tests/Assignments and an indication of whether they have completed Blackboard Surveys, in the order that you added them, then a Total column. However, you may customise the Grade Center to control how the information is displayed.
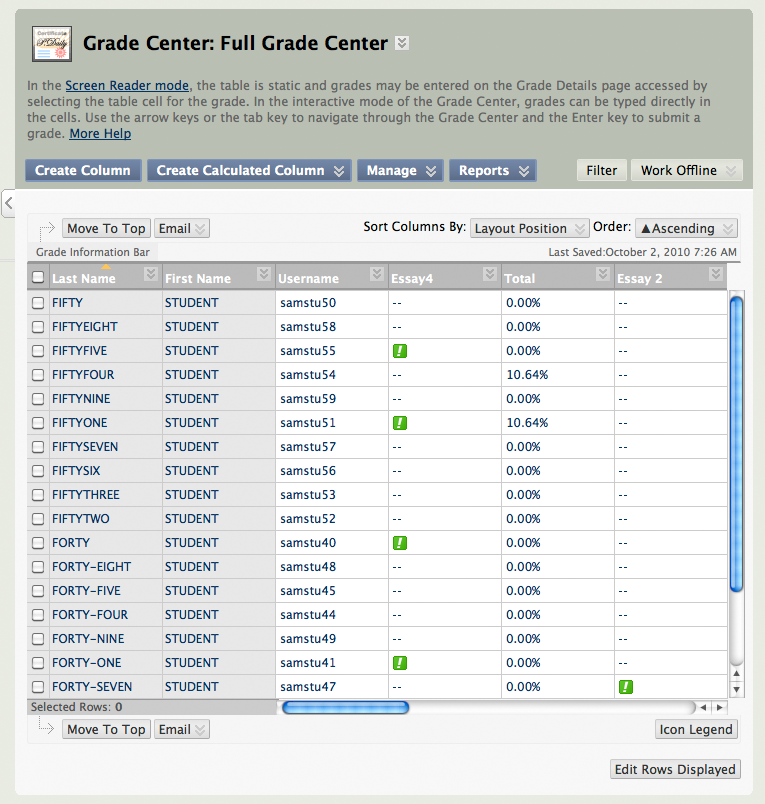
Resources
- Grade Centre Overview (help.blackboard.com)
- Creating a Grade Center Column and adding Grades (video)
- Creating Grade Center Categories (video)
- Creating a Grade Center report (video)
- Creating a Grade Rule (video)
- Customizing the Grade Center View (video)
- Viewing Grade Details (video)
- Blackboard Grade Center Training course (view dates & times)
Managing your Grade Center
The following are some basic tasks associated with managing the Grade Center. You may also like to refer to the information in the Resources section (above) for other more specific tasks.
Re-ordering, hiding and showing columns in the Grade Center
You can hide or move any column in the grade center. Hidden columns still exist, but you won’t see them unless you choose to display them again. To re-order, hide or show columns:
- If you are not already in the Grade Center, click the Grade Center button in your Control Panel section of the Course menu, then click “Full Grade Center”.
- Hover your mouse over “Manage” then click on “Column Organisation”.
- To move a column, click and hold on the four-sided arrow and drag up or down until the column is in its desired location, then click the blue submit button in the top right of the Grade Center.
- To hide a column from you (and other staff), click on the tick-box beside the name of the column, then hover your mouse over “Show/Hide”, then click on Hide Selected Columns. Then click the blue submit button in the top right of the Grade Center.
- To show a column that you’ve hidden, click on the tick-box beside the name of the column, then hover your mouse over “Show/Hide”, then click on Show Selected Columns. Then click on the blue Submit button in the top right corner of the Grade Center.
Creating a new Grade Center Column
Blackboard Tests, Surveys, and Assignments will have a column created automatically, but if you are wanting to add marks for non-Blackboard assessments (essays, lab reports and so on), then you can add a new column.
- If you are not already in the Grade Center, click the Grade Center button in your Control Panel section of the Course menu, then click “Full Grade Center”.
- Click the “Create Column” button.
- Type a name for the column in “Column name”.
- Choose how you want your grades to be displayed in the “Primary Display” section – score (raw mark), percentage, letter, or pass/fail are the most common options.
- Set any other settings, as required.
- Click the blue Submit button in the top right corner of the Grade Center.
