Summary
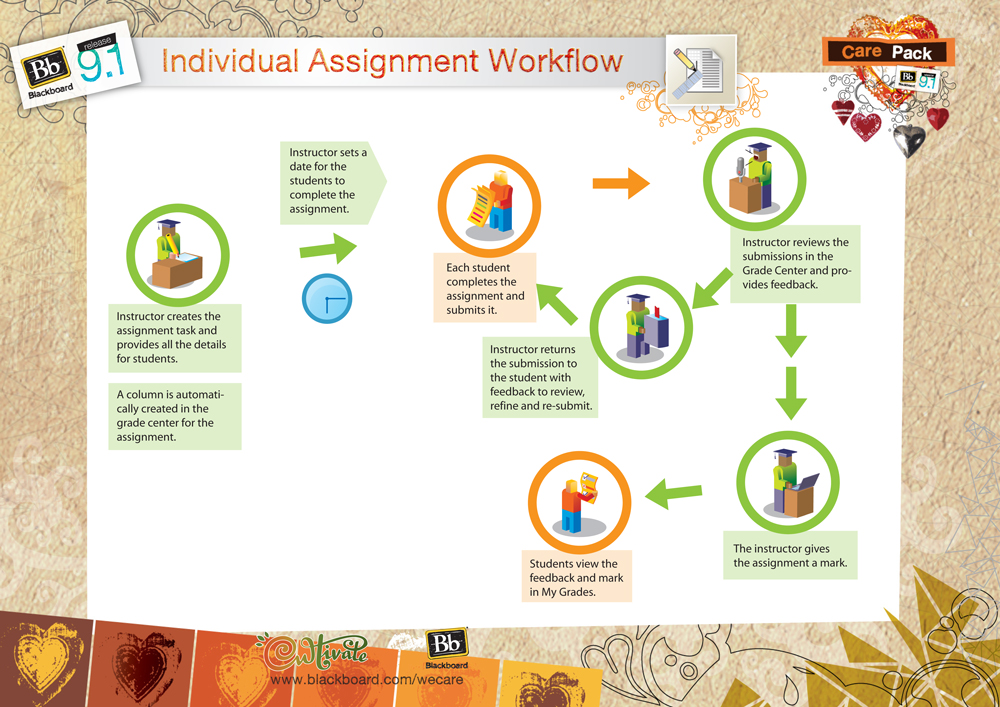
 The “Assignment” feature is designed to allow students to upload a file (essay, report, assignment, etc) on a specific date, or between two specific dates. The “Assignment” will automatically be given an entry in the Grade Center, and all files submitted by students can be downloaded by staff members in one zip file. The “Upload Grades” feature can then be used to quickly and easily add grades for the Assignment to the Grade Center.
Resources
- Getting Started with Assignments (pdf)
- Assignments Overview (help.blackboard.com)
- Delegated Grading (help.blackboard.com)
- Blackboard Preparing Tests, Surveys, and Assignments Training course (view dates & times)
- Blackboard Tests, Assignments and Marking Training course (view dates & times)
- Downloading Assignments (video)
- Creating Assignments (video)
- Deploying and Grading Group Assignments (video)
- Clean Out Graded Assignment Files (video)
How to create an Assignment
An assignment is easy to create and you can create more than one – in fact, you should create an Assignment for each piece of assessment to be submitted. Go to the content area you want the assignment to appear in (i.e. Assignments, Course Documents) and click Assessment and select Assignment. Fill in the name of the assignment, any instructions you might have (you can also attach instructions as a file). Make sure you fill in how many points are possible for the assignment. You can choose how many attempts a student can make: single, unlimited or a set number, as well as setting a due date. Assignments can be given to all students individually or to groups of students.
In the Grading Options section you are able to select if the Assignment is to have anonymous marking and if the grading is to be delegated. In delegated grading you can select which user is able to do the marking and if they get a random set, all submissions or a single group’s assignments to mark.
Once you have finished with all the settings press Submit and you’re done. When students complete the assignment you will be able to pick up their attempts from the Grade Center.
Using SafeAssign with Assignments
If you wish to check assignments with SafeAssign, you must select this option from the Submissions. Refer to the Integrated SafeAssign page for more information including University policy criteria that must be adhered to.

