
Summary
Course Files is a repository (or storage area) of all the files in your Blackboard paper. Files uploaded to the Files area of the Control Panel will not appear in any content areas until you put them there. Any files uploaded to a content area i.e. Course Documents will automatically be included in the Files areas in Control Panel.
To put it another way:
- If you go into Course Documents and create a content item called “Course Outline”, and attach a PDF to this called “course-outline.pdf”, then course-outline.pdf will appear in your Course Files (storage area).
- If you go into Course Files (storage area) and upload course-outline.pdf, this file will not appear in any of your content areas (ie, be available to students) until you create a content item and choose to link course-outline.pdf to it.
Accessing Course Files
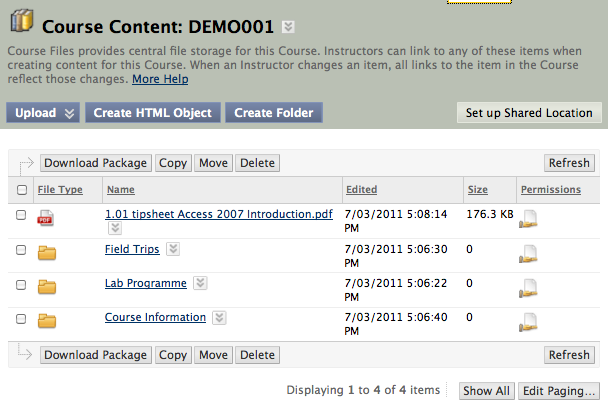
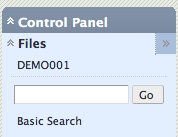 Access your course files by clicking on “Files” in your course menu, and then click on the paper code of your paper. Your course files – arranged into folders – will appear on your screen. This represents all files in your course, but does not necessarily mean that your students have access to them.
You can either:
- upload a file when you create a content item (for example, create a content item called “Course Outline” and attach a PDF to it); or
- upload a file directly to course files, and then link to it when you create an item (for example, upload your course outline PDF to your course files area, and then create a content item called “Course Outline” which links to that file.
This means that it is possible to upload a file to your course files area, but not have that file available in one of your content areas (for example, Course Documents). It is important to know this, because if you do have any files in course files that are NOT linked to a content item, these files will not be rolled over with your paper. Think of your course files as a storage area.
Uploading files directly to your Course Files storage area
You can upload files and folders to course files two different ways:
- Using WebDav, where you drag and drop your files and folders into a folder on your desktop
- By logging into Blackboard and uploading them there – follow the instructions below.
Creating a folder in course files
If you want to create a folder to upload material to (and you don’t want to use any of the existing ones that you already have):
- If you are not already in the Course Files repository, click on “Files” in your course menu, and then click on the paper code of your paper.
- Click on “Create Folder”
- Give your folder a name and click Submit.
- Go into the folder by clicking on its name.
Uploading a single file to your course files repository
Remember! This file will not appear in any of your content areas until you create an item or folder and select this file to link to.
- If you are not already in the Course Files repository, click on “Files” in your course menu, and then click on the paper code of your paper.
- Click on the folder you want to add the file to
- Click on Upload, then Upload Files
- Either: drop files into the file drop region in your browser (this will appear IF you have the correct version of Java installed)
- Or: click Browse to locate and select files to upload
- Click Submit.
Alternatively, you can use WebDav, where you drag and drop your files and folders into a folder on your desktop.
